How To Construct a Hedgehog House
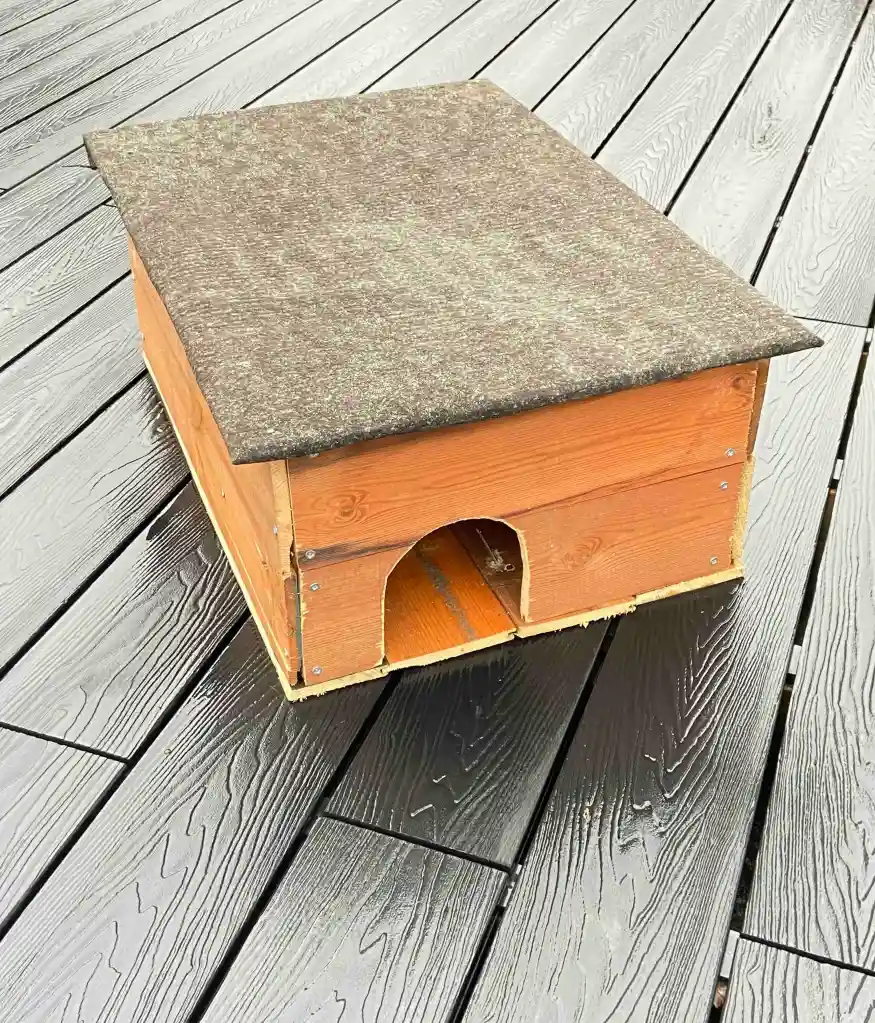
Building a hedgehog house is a great way to encourage hedgehogs into your garden. This blogpost will guide you through the steps necessary on building and placing your hedgehog house.
It is worth noting that all the materials have been reclaimed from an old shed in our garden. This is easy to spot as some of the wood has been painted. Old pallets would work if you wanted to reclaim any wood. Other wood, such as decking, would work great as an alternative. If DIY (Do It Yourself) is not for you, there are boxes you can buy; Gardeners World has a great article showing various hedgehog houses.
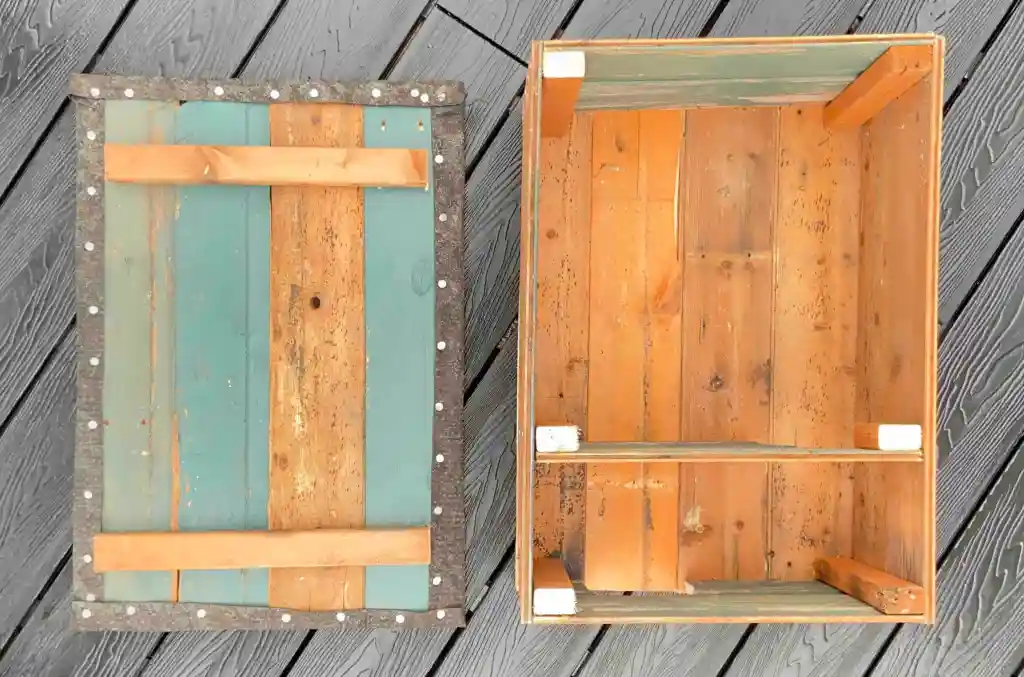
What You Will Need
4 x Side pieces – each one 60 cm x 9 ½cm
4 x end pieces – each one 40 cm x 9 ½cm
2 x baffle pieces – each one 40 cm x 9½cm
4 x corner upright pieces – each one 19 cm long cut from 2½cm square scrap wood
3 x brace pieces – each one 15 cm x 3 cm
6 x floor pieces – each one 43½cm x 10 cm
5 x roof pieces – each one 64 cm x 9 cm
2 x roof braces – each one 39 cm x 9 cm
1 x roofing felt – 75 cm x 55 cm
roofing felt nails
Screws – I used 8 × 40 mm (8 × 1½ inch) with slightly shorter screws for the brace pieces but depending on the wood you use you may need different sizes. Make sure that when you screw the bits of wood together, there are no sharp points emerging from screws that are too long.
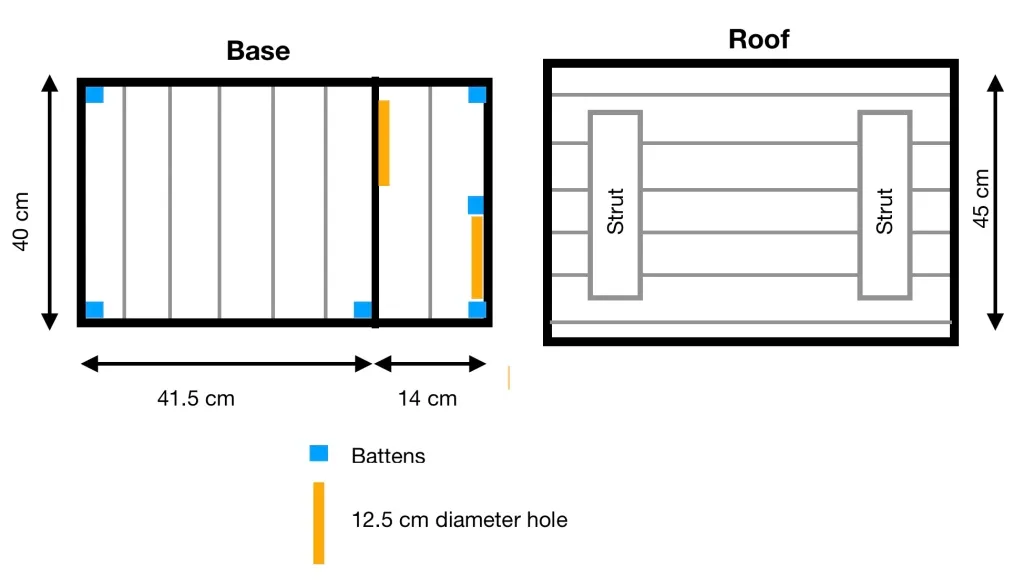
Plans
Instructions
1,
The first stage is to create two complete side pieces. To do this, take two of the longer side pieces of wood, if they are tongue and groove, and slot them together making one side. Screw or nail a batten to each end of the assembled side, making sure that the battens are set back from the edges, the same thickness as the timber. This is so that the smaller end pieces will fit flush when fully assembled.
2,
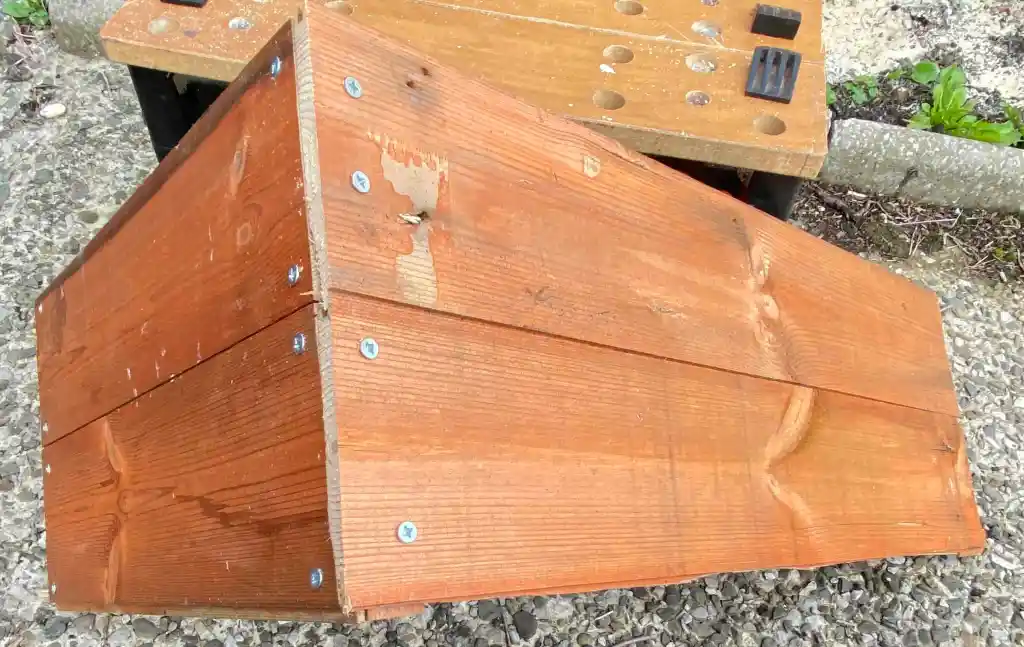
The next stage is to join these side pieces with smaller end pieces to make a box shape. It may be easier to join one site piece to an end piece, making an ‘L’ shape and then repeating the process before joining the 2 ‘L’ shapes together to make the box.
3,
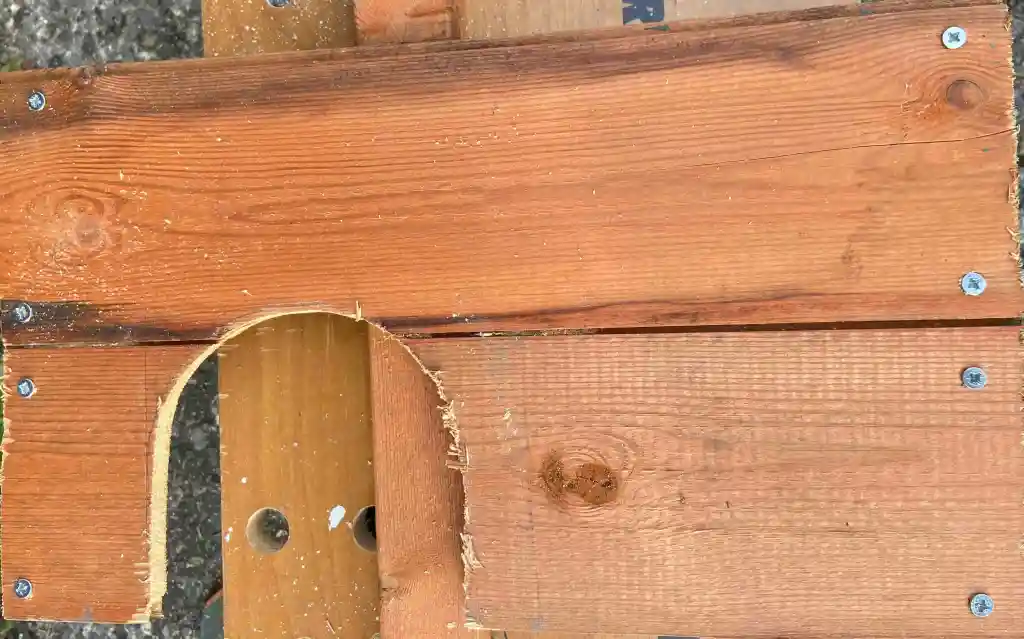
On one of the smaller end pieces, mark out a 125 mm hole, and cut it out carefully, sanding after you have cut the hole out.
4,
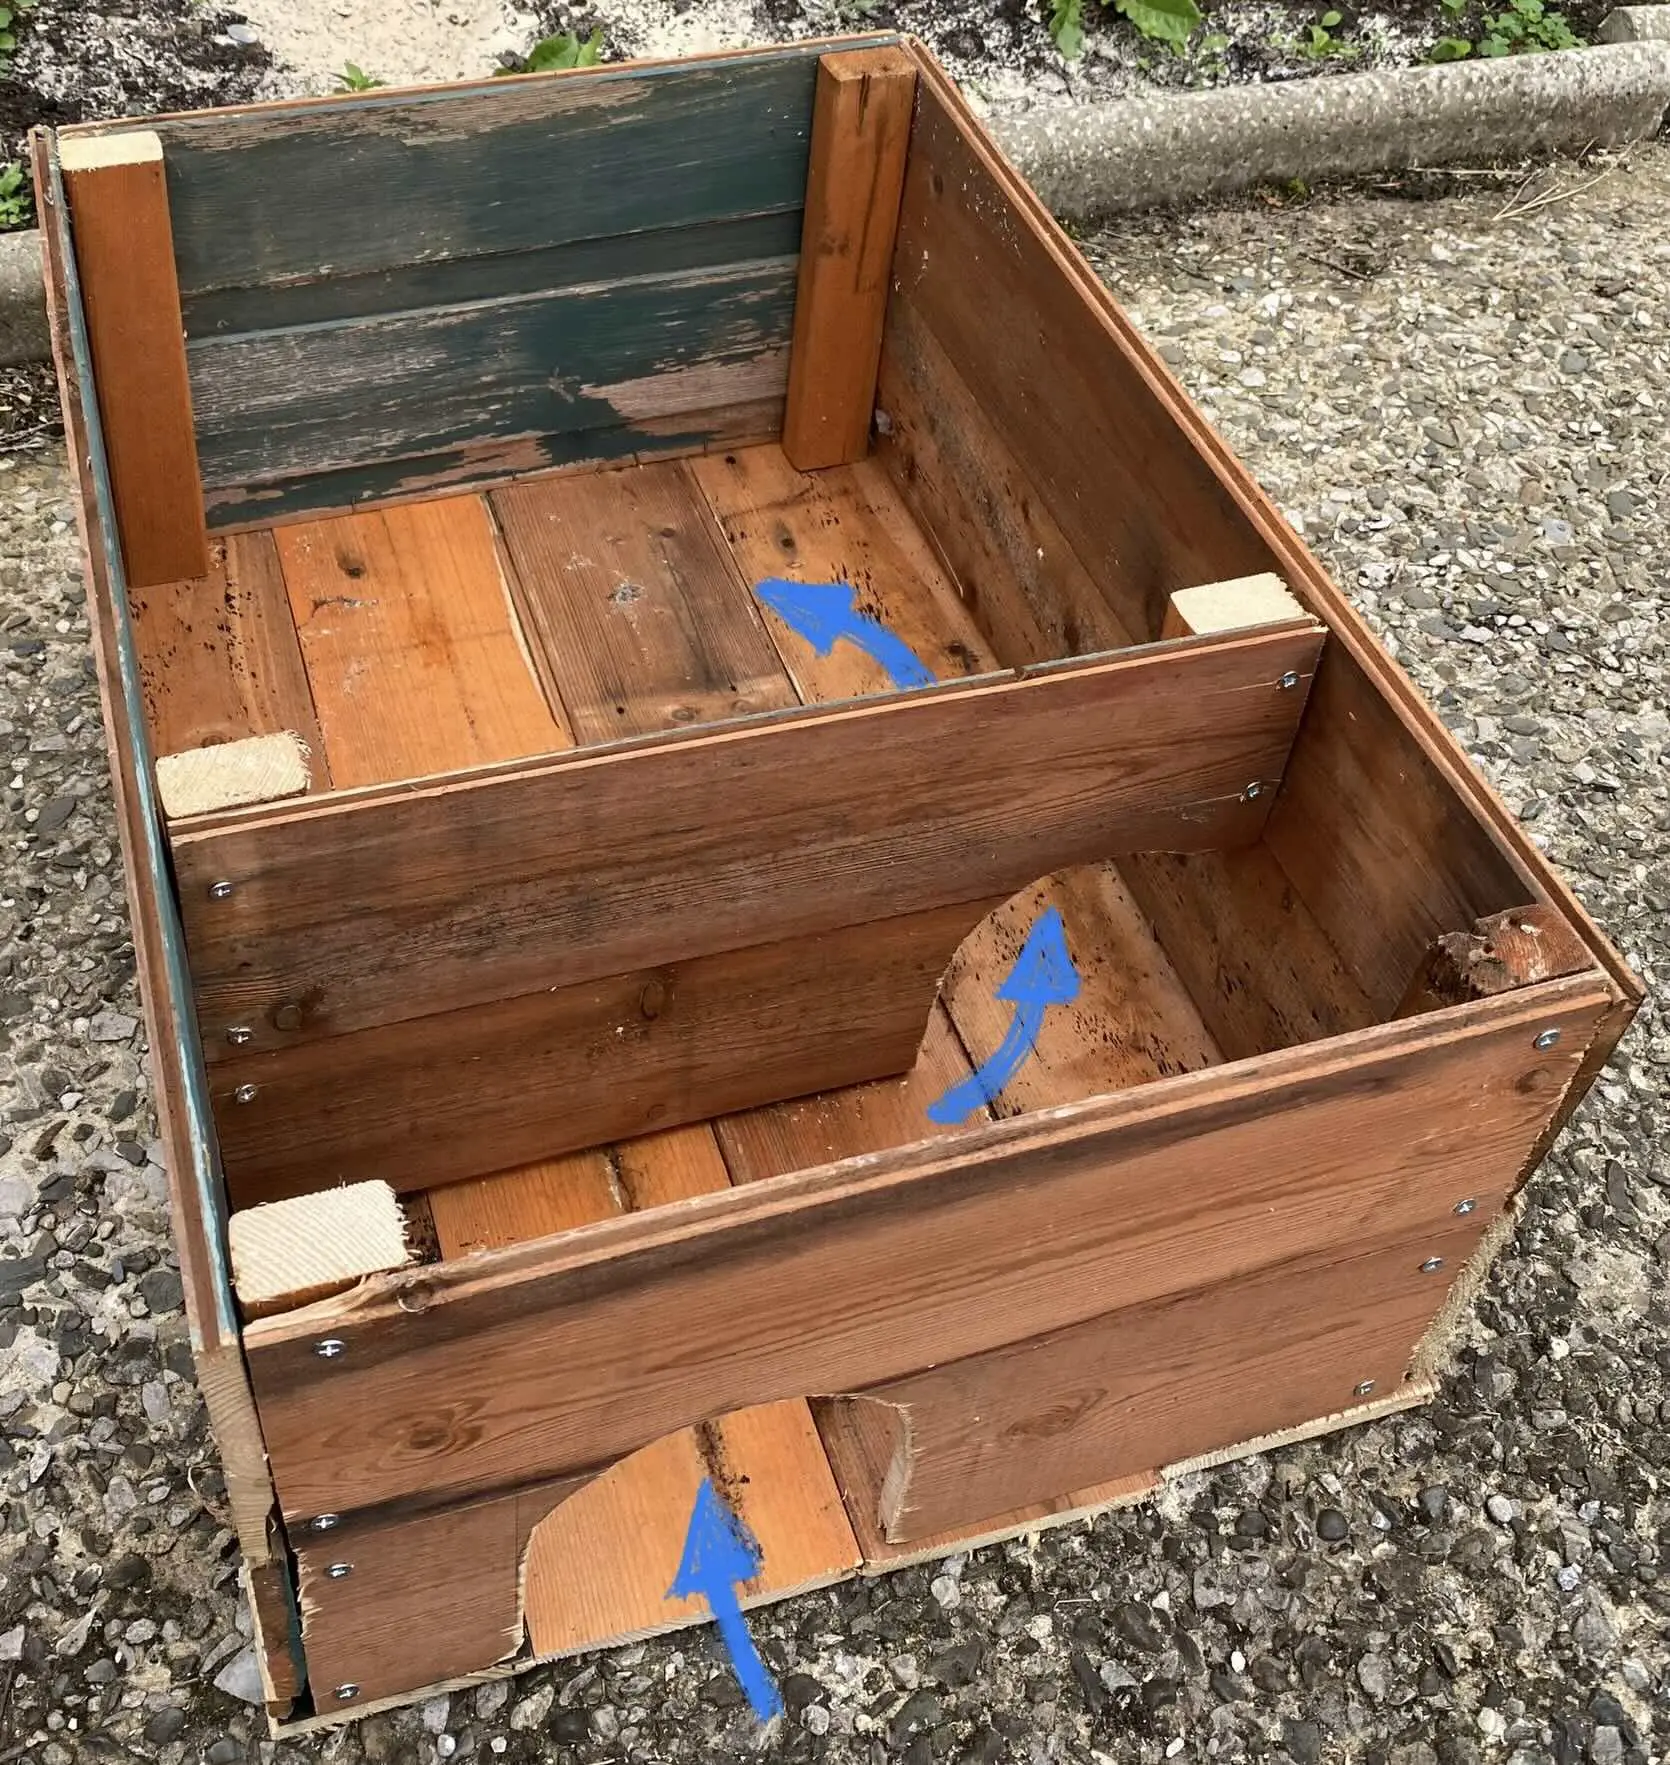
The internal wall or baffle should be assembled, and the hole cut in it in the same way as the end, piece with the hole. Secure the baffle with screws or nails from the outside, and, when the floor has been added, from underneath as well.
5,
The baffle needs to be positioned so that it is 125 mm wide at its narrowest point from the end with the hole.
6,
Turn the box upside down and screw the floor pieces into the correct position, carefully lining all the planks.
7,
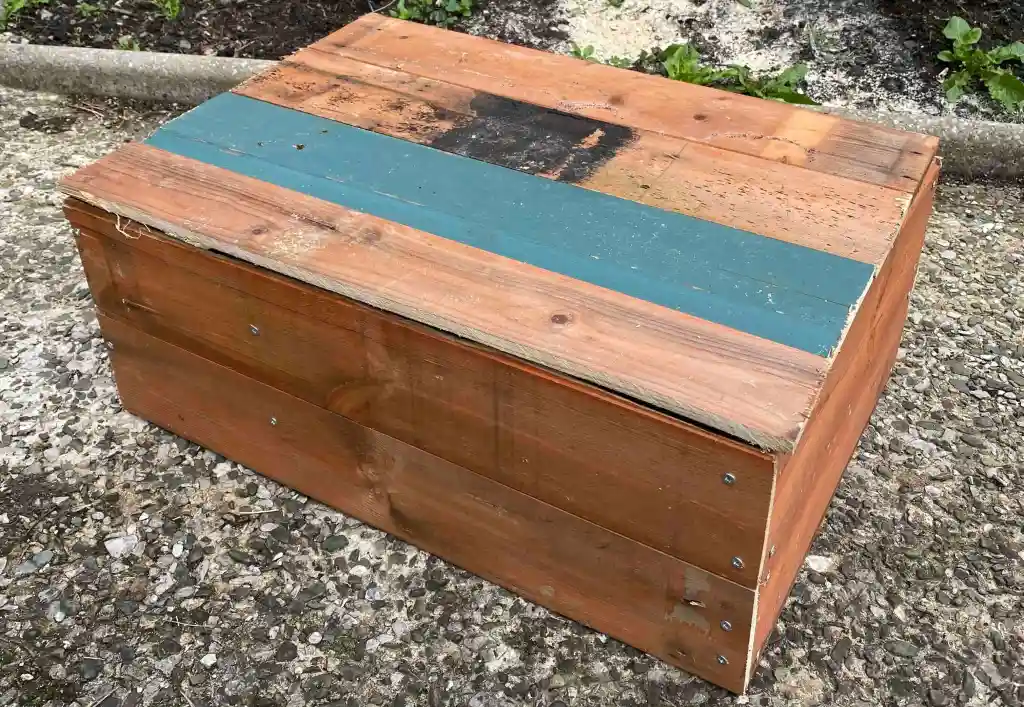
For the roof, line all the pieces together and secure them with two longer buttons, so that the buttons fit inside the box frame when the roof is in place. Carefully cover the roof with roofing felt, ensuring it is secure along all four edges to make a watertight covering.
8,
Extra holes can be drilled in the back wall of the box to provide additional ventilation.
Where to place your Hedgehog Home?
Arkwildlife and Hedgehog Street recommend putting your hedgehog house in a quiet, shaded position in your garden (ideally facing east to south), where the entrance hole will be shielded from bad weather.
What to put in a hedgehog house
Arkwildlife recommends partially filling the house with handfuls of leaves, grass, or hay to make hedgehogs feel at home. These materials are ideal as they act as insulation, and supplying them allows hedgehogs a head start on nesting. However, it is recommended to leave room for more materials because foraging for them is an important ritual for hedgehogs.
If you have read the entire article, I hope you enjoyed what I wrote. If you did, please share this article with someone who would appreciate it too.


